Launch a TELA site (CLI)
Prerequisites
- TELA-CLI installed (from source (opens in a new tab))
- DERO wallet Testnet or Mainnet
- Basic text editor (VS Code recommended)
TELA-CLI Commands
Here are some essential commands to get you started:
| Command | Description |
|---|---|
install-doc [file] | Deploy a TELA-DOC contract (prompts for file if not specified). |
install-index [name] | Deploy a TELA-INDEX contract (prompts for name if not specified). |
serve <SCID> | Serve TELA content from a specific SCID. |
rate <SCID> | Rate a TELA smart contract. |
clone <SCID> | Clone TELA application files locally. |
endpoint <network> | Connect to network (simulator, testnet, mainnet). |
Step 1: Launch TELA-CLI
Option A: If installed globally:
tela-cliOption B: From source directory:
cd tela-dev/cmd/tela-cli
./tela-cli
With options (optional):
# With daemon and Gnomon enabled
tela-cli --daemon=127.0.0.1:10102 --gnomon

# Or for simulator (recommended for beginners)
tela-cli --simulator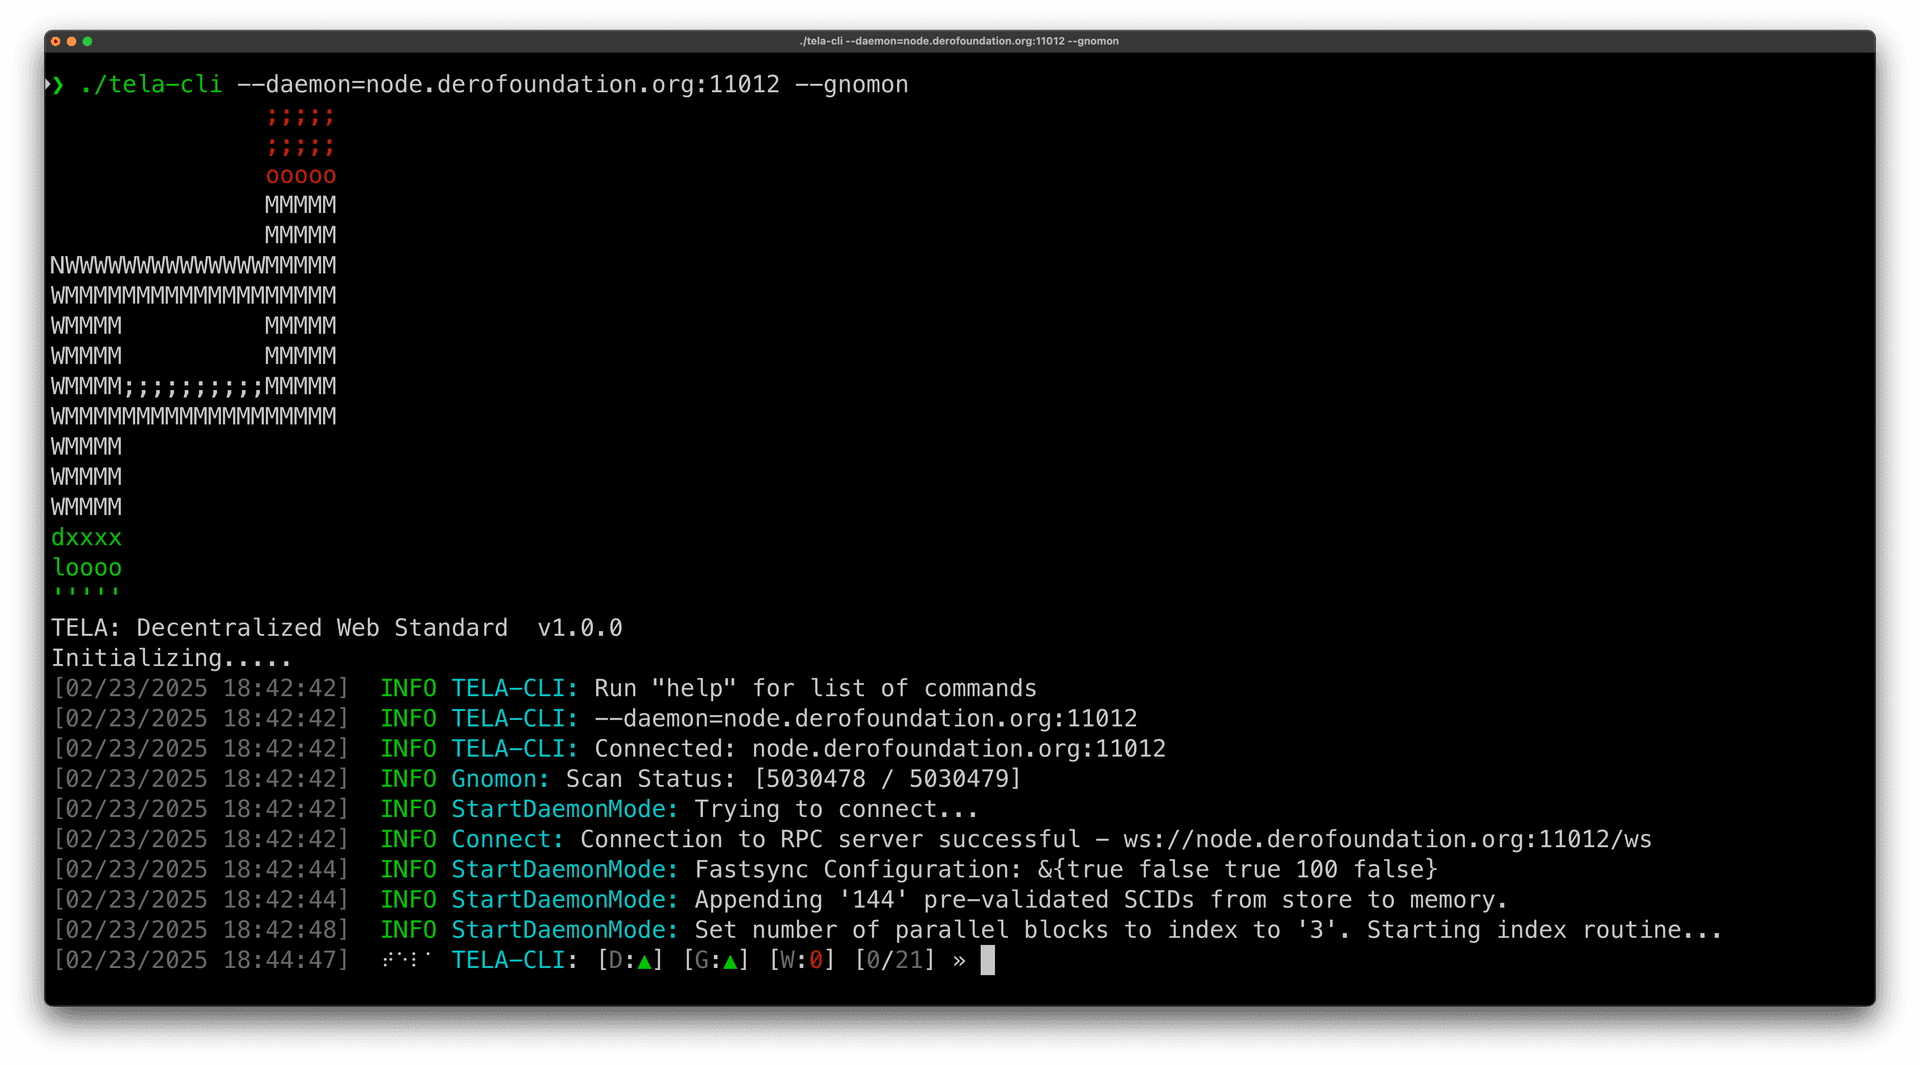
Step 2: Select Network
Choose your deployment network:
# For testing (recommended for beginners)
» endpoint simulator

# For testnet
» endpoint testnet

# For production mainnet
» endpoint mainnet
Step 3: Wallet Connection
Connect your wallet.
» wallet
Enter wallet file path » /path/to/your/wallet.db
# Enter wallet password when prompted
Step 4: Clone the Template (Optional)
TELA's immutable update system creates new versions with each change. When cloning, you can specify the exact TXID to ensure you get the correct version. If there has been no changes to the page you can paste the SCID only. After you make updates to your page you must specify both the SCID and TXID to clone the exact version you want.
» clone
Enter SCID » e107f605bf1a3a1b27d264d010bc8ba263742012a5b246ae7fa782bd34613efb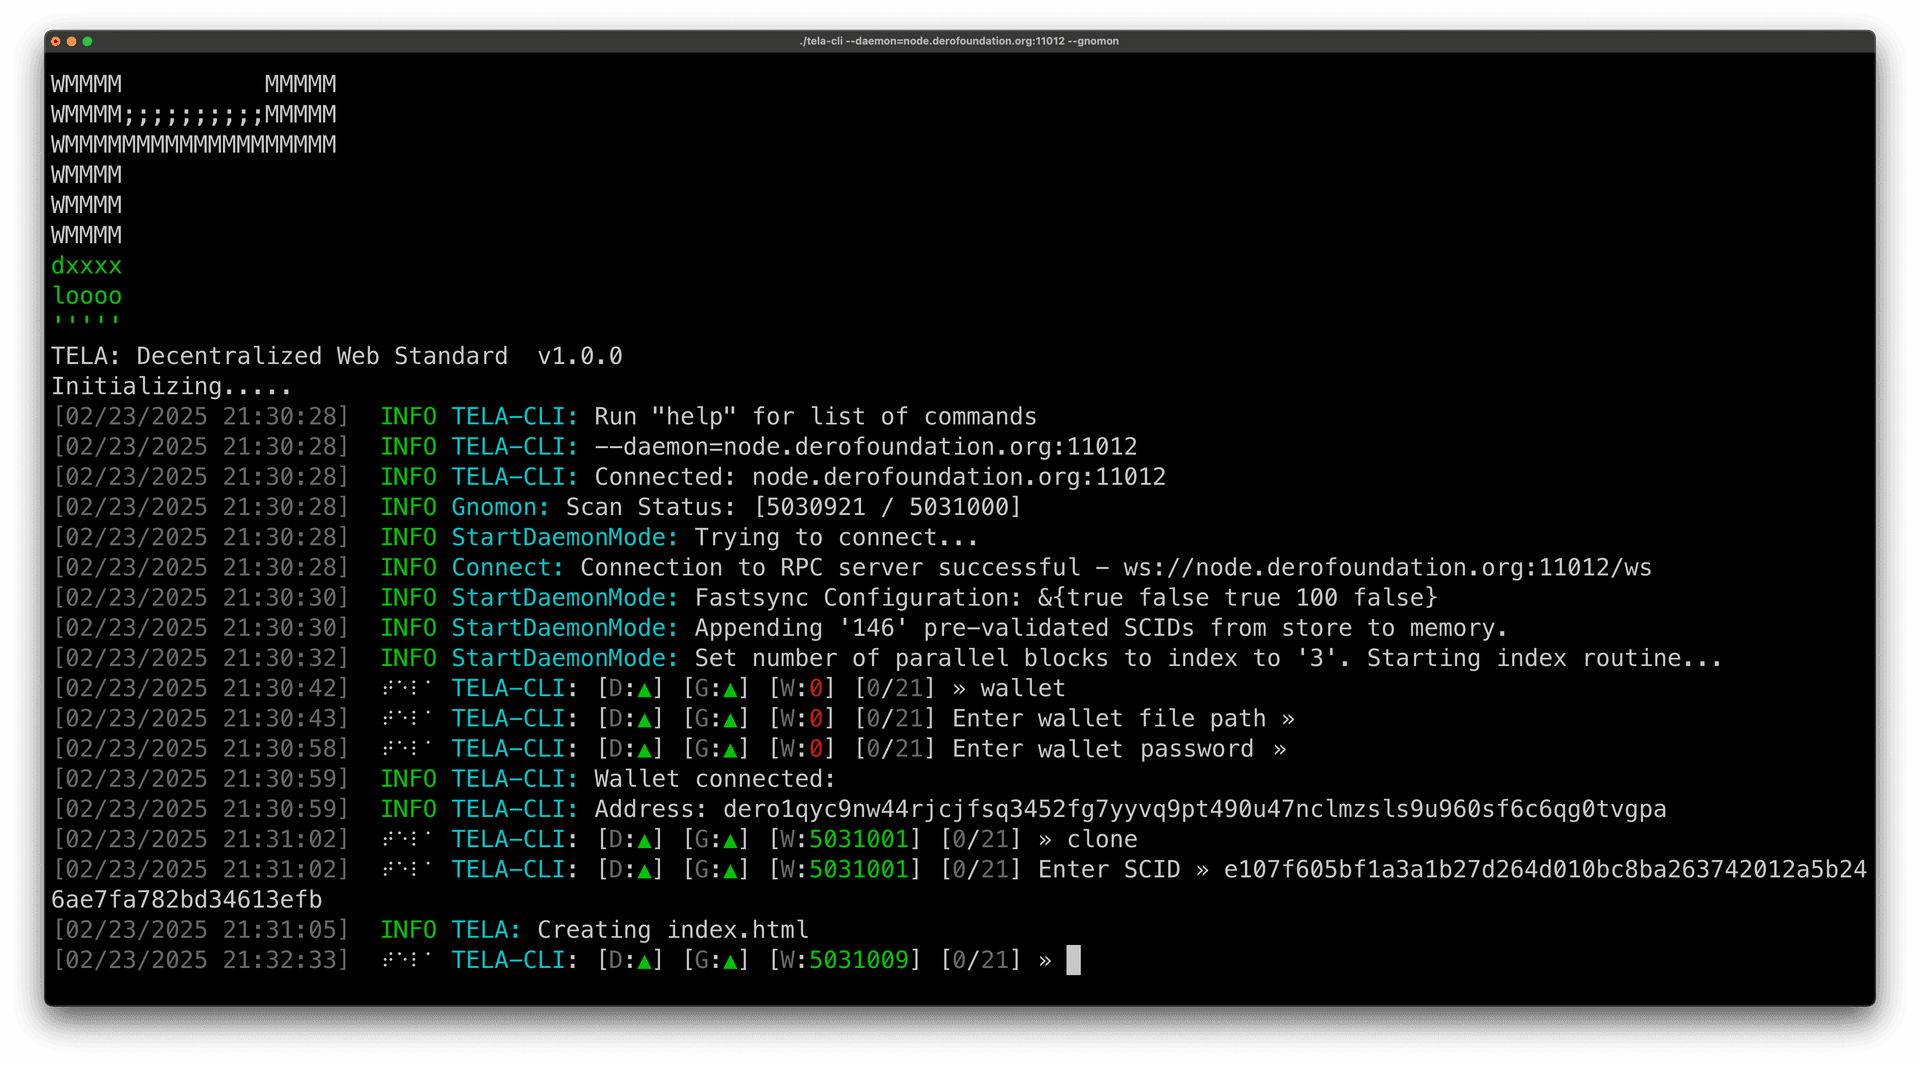
Step 5: Modify Template Files
The cloned files will be saved to: /datashards/clone/TELA-template/index.html.
Edit index.html with your preferred editor:
# For example replace Dero Project with your actual name
   <h1>Chakipu</h1>
   <h2>My Links</h2>
   <ul>
      <li><a href="https://nonsensus.io/people/chakipu/" target="_blank">Nonsensus Profile</a></li>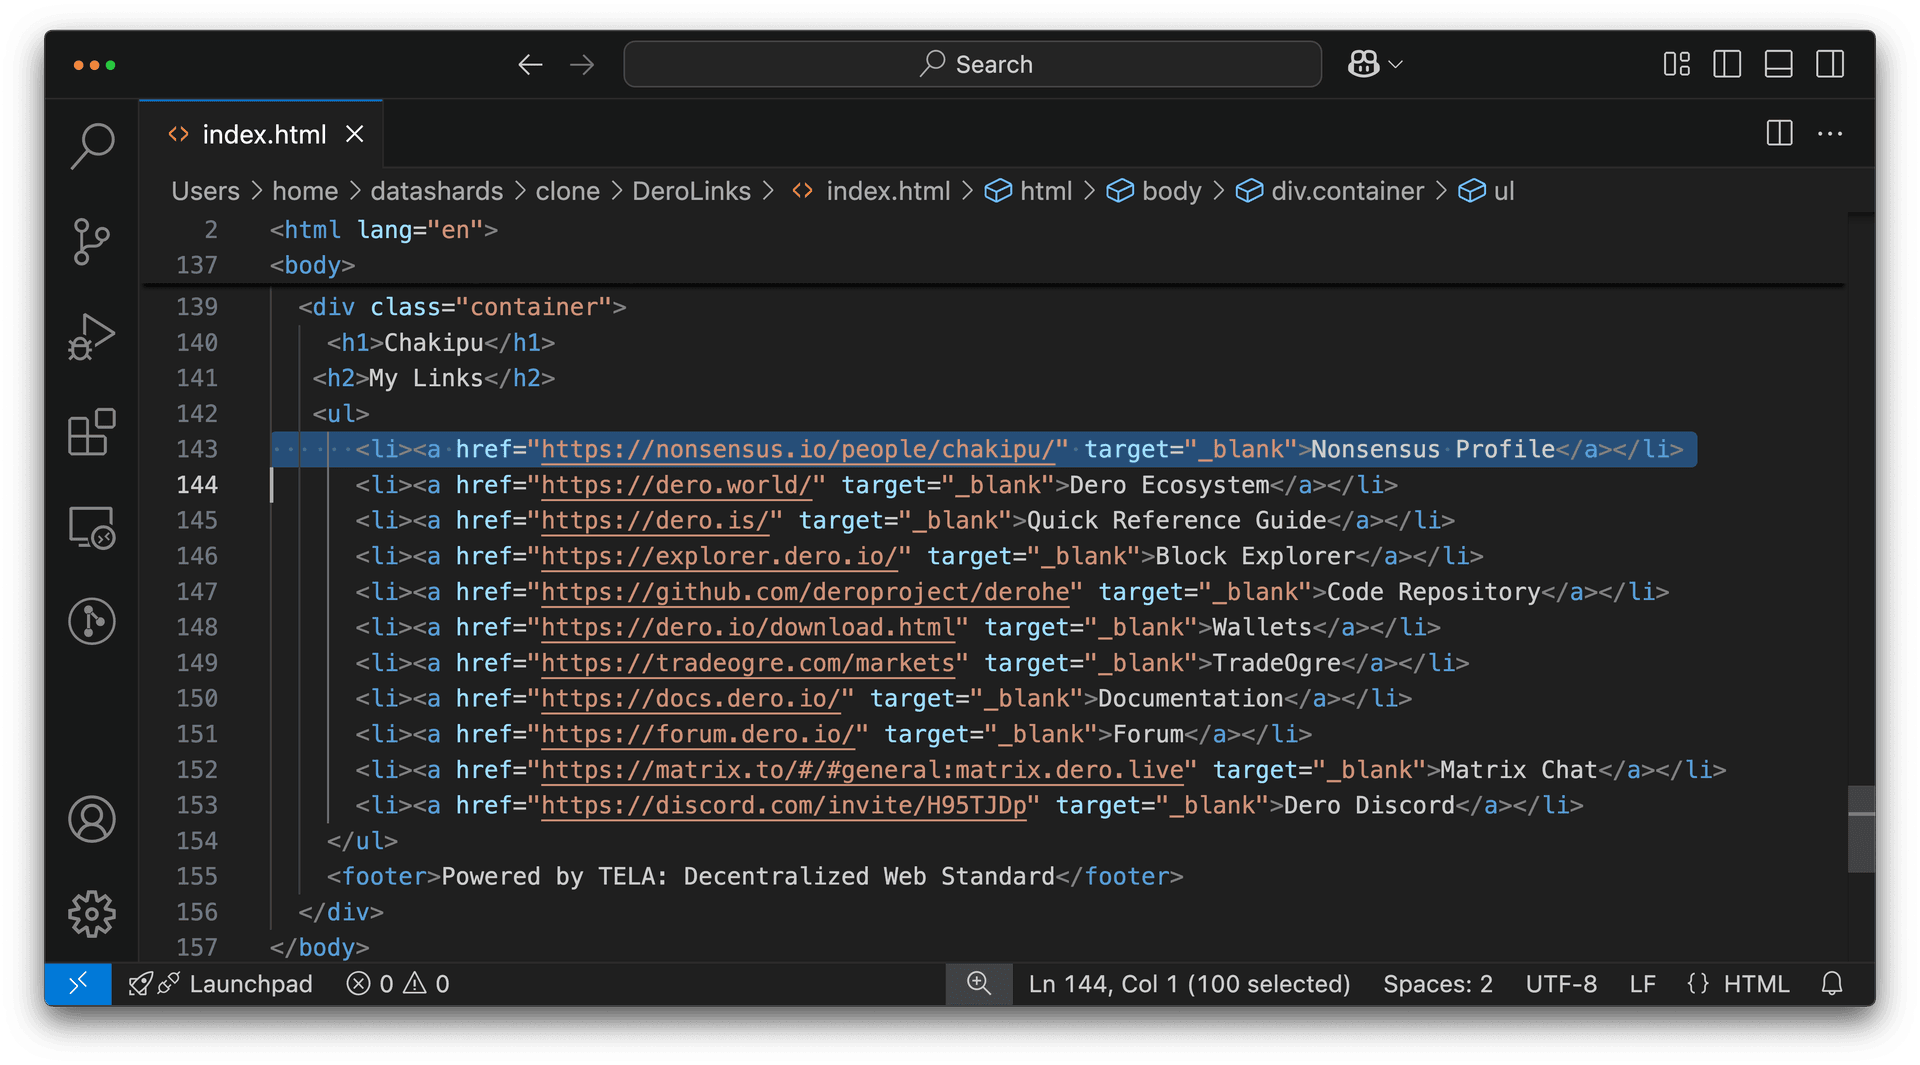
Optional
Create a dedicated directory for your files. Copy the index.html file from the datashards directory and paste it into your new directory.
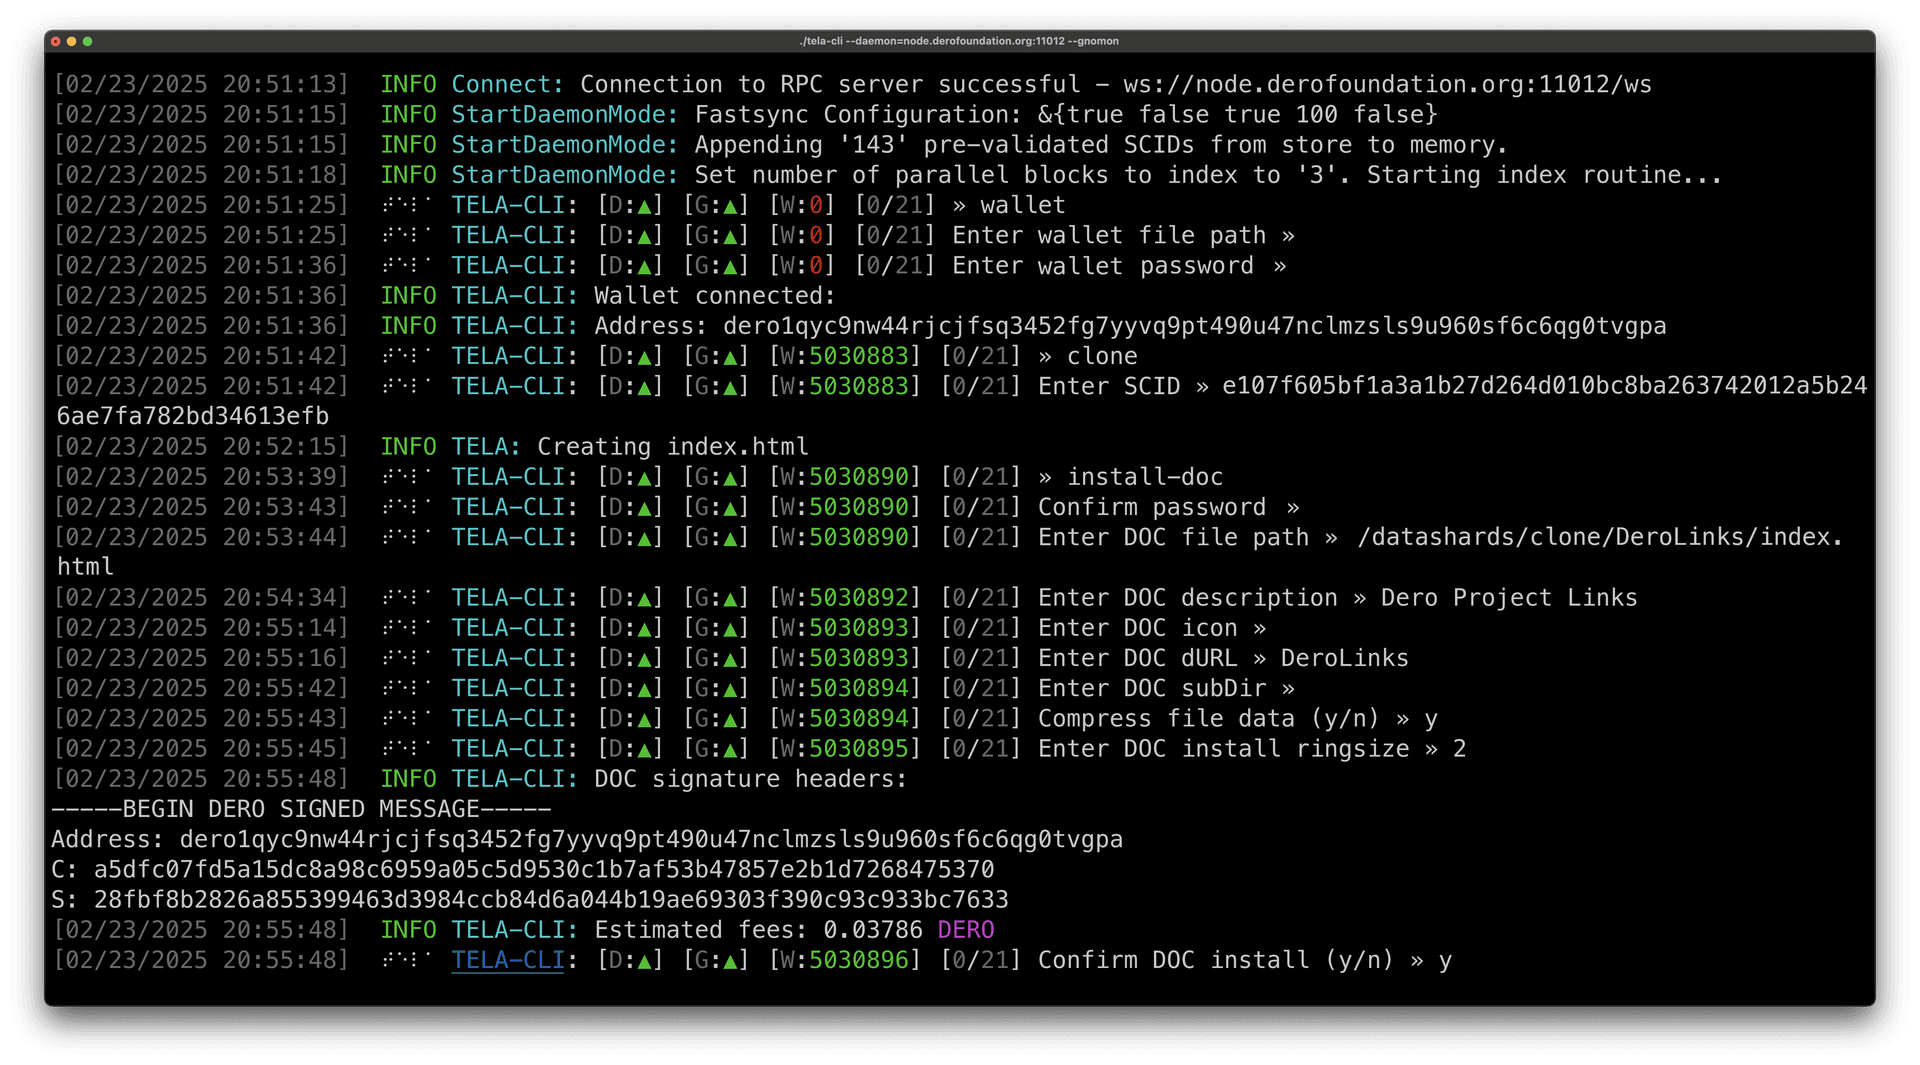
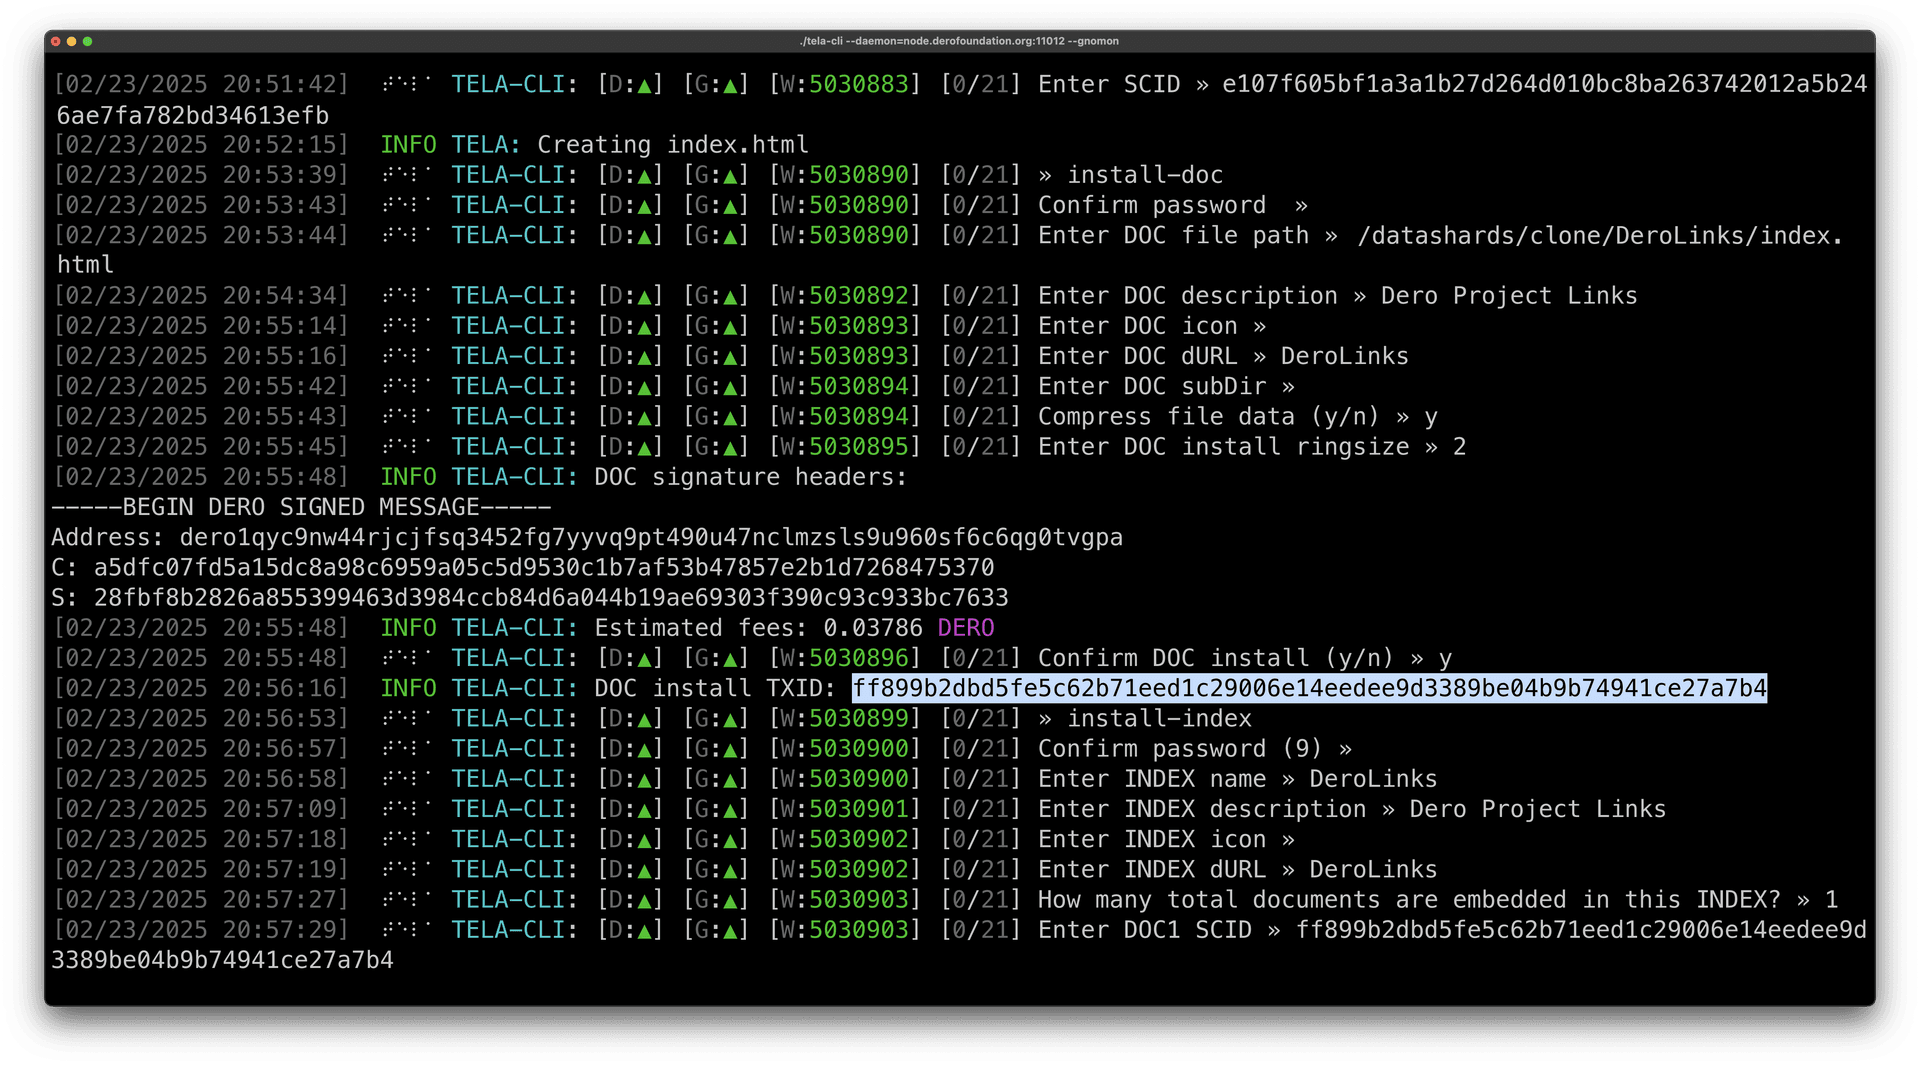
Step 6: Install Modified Document
» install-doc
Confirm password » [enter your wallet password]
Enter DOC file path » /path/to/your/index.html

# Follow prompts carefully:
Enter DOC description » My first TELA application
Enter DOC icon » [leave blank or provide URL/SCID]
Enter DOC dURL » my-first-app.tela
Enter DOC subDir » [press enter for root]
Enter DOC install ringsize » 2
Confirm DOC install (y/n) » y

# IMPORTANT: Note the generated SCID from the output!
# Example output: DOC install TXID: abc123...
# The SCID will be derived from this TXID
File Path Tip: You can also provide the file path directly: install-doc /path/to/your/index.html
Compression: TELA automatically handles compression based on file size. Files are compressed if needed to meet blockchain size limits.
Step 7: Create Index Contract
» install-index
Confirm password » [enter your wallet password]
Enter INDEX name » My First TELA App
Enter INDEX description » My first decentralized web application
Enter INDEX icon » [leave blank or provide URL/SCID]
Enter INDEX dURL » my-first-app.tela
How many total documents are embedded in this INDEX? » 1
Enter DOC1 SCID » [paste the SCID from Step 6]

# Optional: Enable MODs (press enter to skip)
Enter INDEX mods (comma separated tags, or leave blank) » [press enter]

Enter INDEX install ringsize » 2
Confirm INDEX install (y/n) » y

# IMPORTANT: Note the generated INDEX SCID from the output!
# This is what you'll use to access your app
Quick Install: You can also provide the name directly: install-index "My App Name"
MODs are Optional: For your first app, skip MODs (press enter). Learn about TELA-MOD-1 for advanced features like variable storage and DERO deposits.
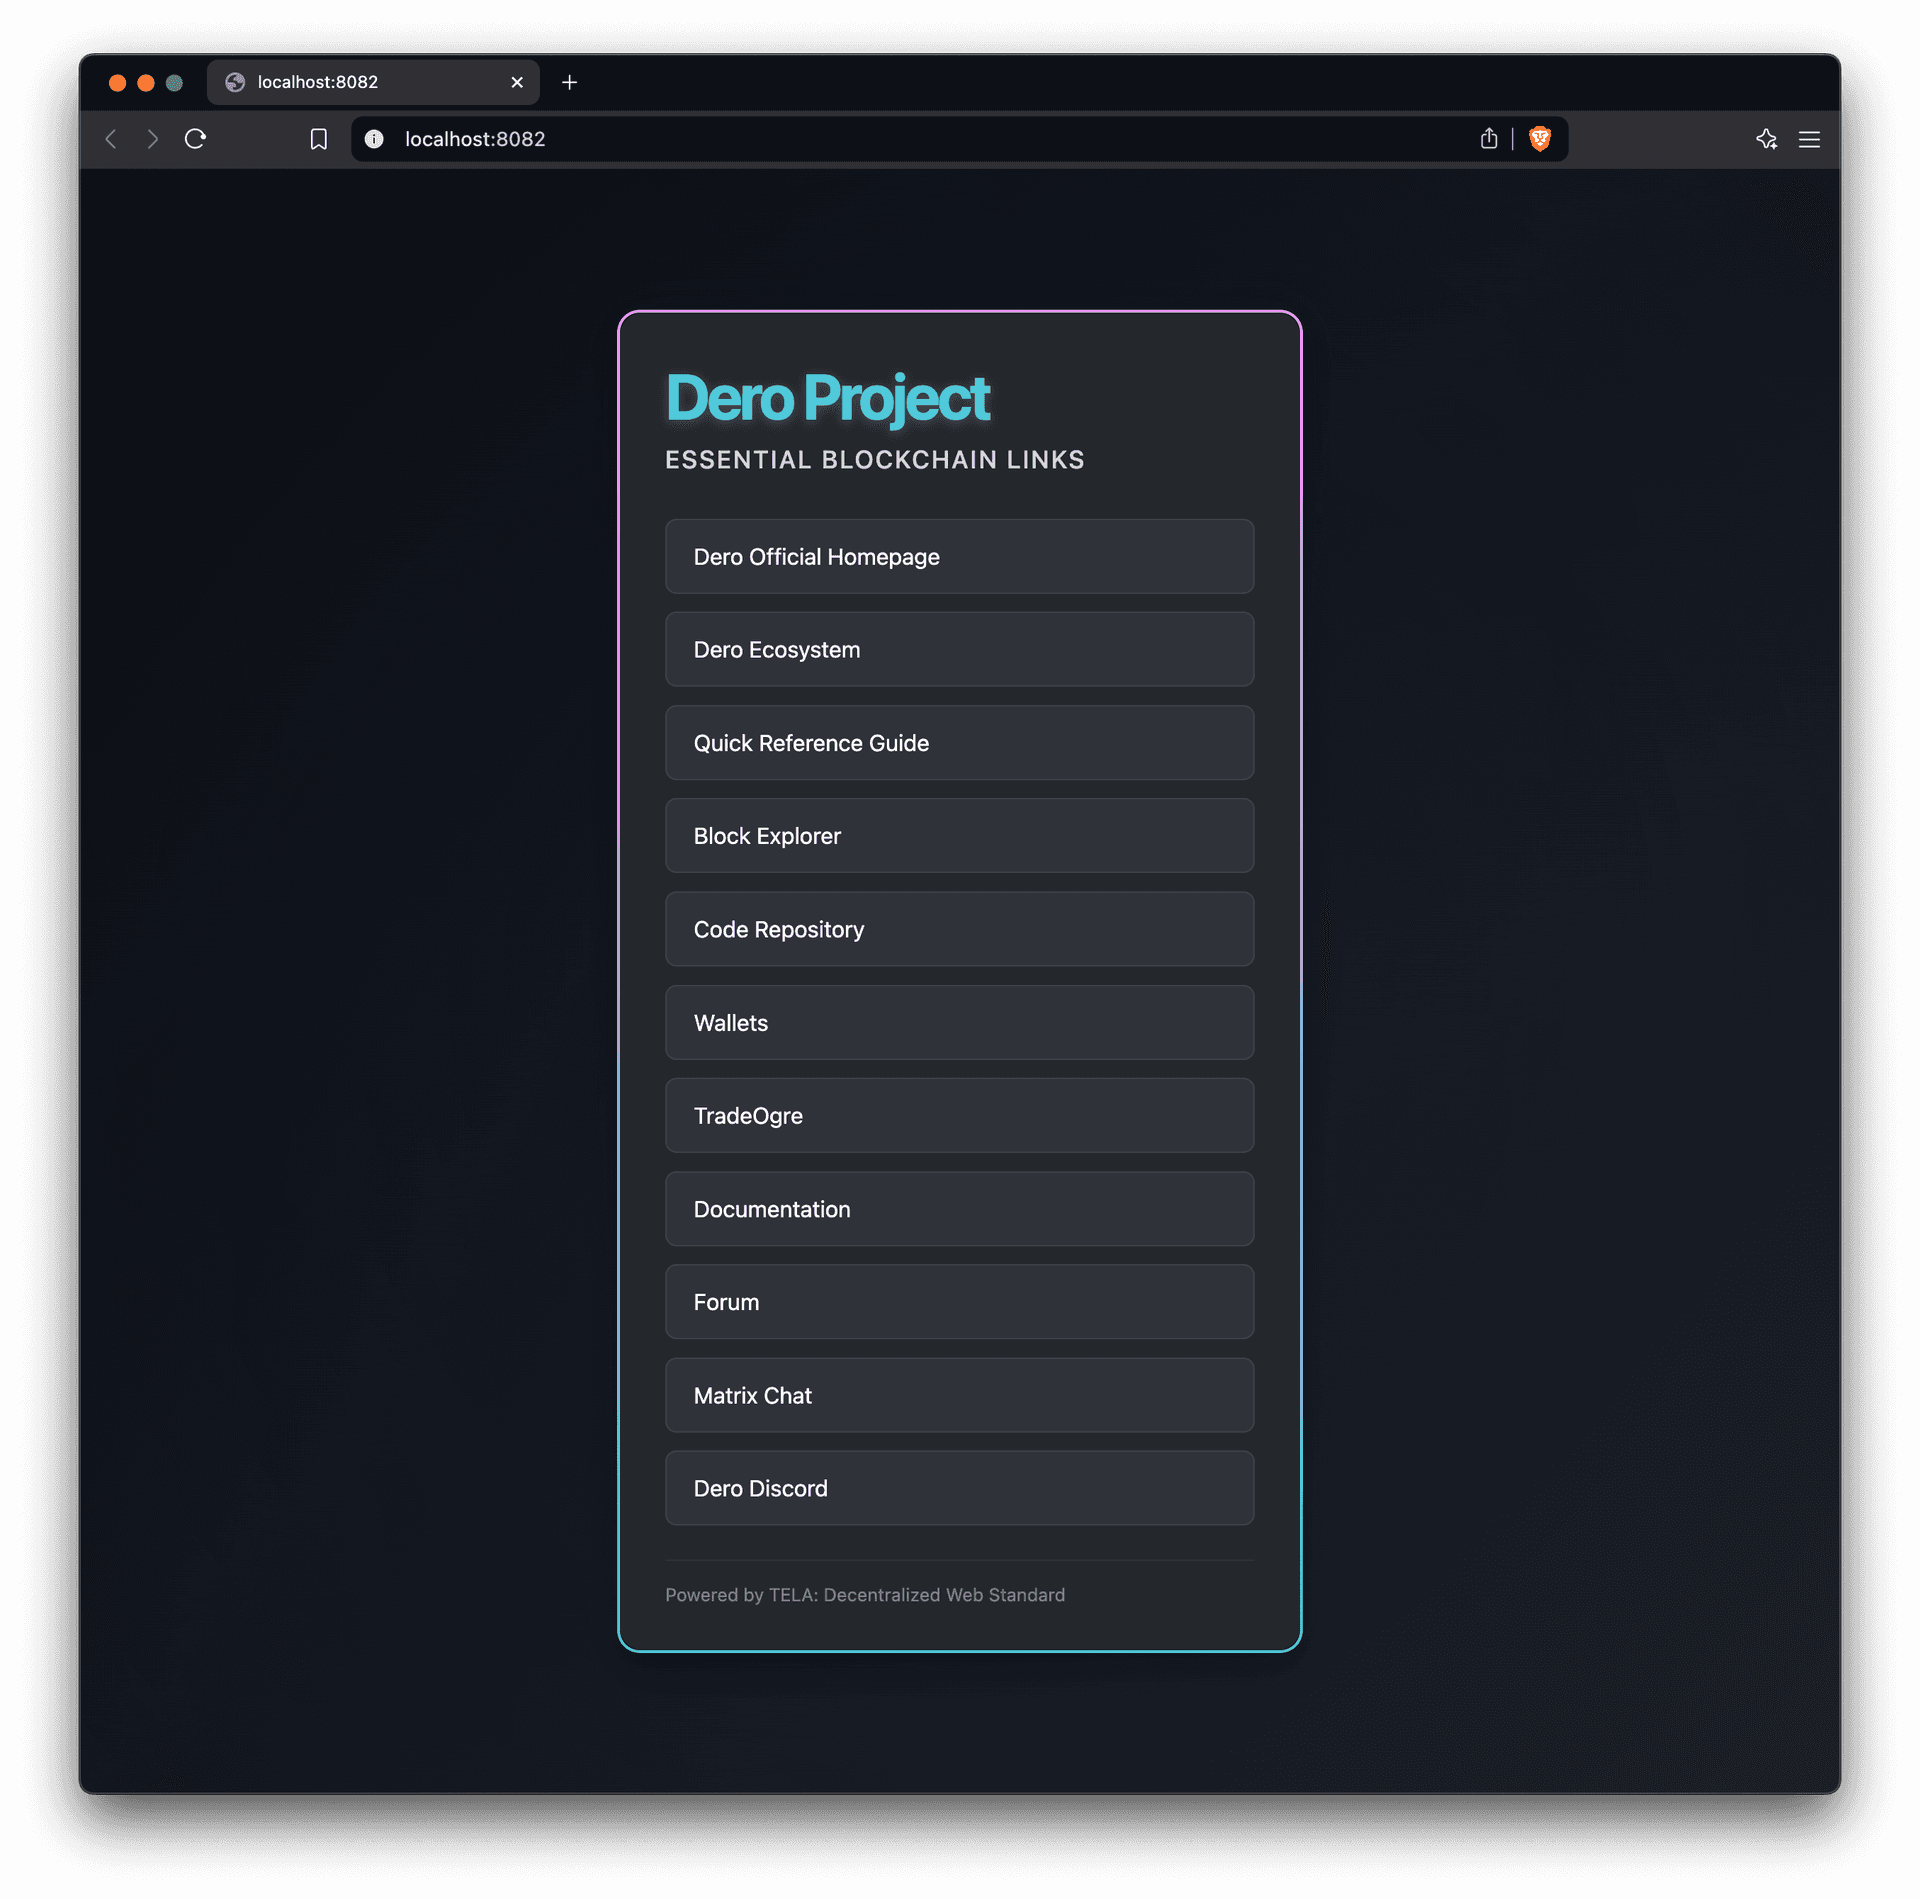
Step 8: Serve Your TELA Site
Server will start on localhost (default port 8082):
» serve [your-index-scid]

# Example output:
# ✓ Serving: my-first-app.tela
# ✓ URL: http://localhost:8082
# ✓ Press Ctrl+C to stop
Access your app: Open http://localhost:8082 (opens in a new tab) in your browser!
Congratulations! You've successfully deployed your first TELA application to the DERO blockchain!
Step 9: Share Your Application (Optional)
Share your app with others by providing the INDEX SCID:
# Your INDEX SCID is what users need to access your app
# They can enter it in Engram or use TELA-CLI:
serve [your-index-scid]
Final Result
Common Issues & Solutions
Issue: "No daemon connection"
Solution:
# Check daemon status
» info

# If daemon is offline, connect to correct network
» endpoint simulator  # or testnet/mainnet
Issue: "Insufficient balance"
Solution:
- Simulator: Provides free DERO automatically
- Testnet: Use DERO testnet faucet
- Mainnet: Ensure wallet has sufficient DERO for deployment
Issue: "File too large"
Solution:
# Check file size
» file-info index.html

# If > 18KB, use compression or sharding
# See: /advanced-features/compression
Issue: "Cannot find wallet file"
Solution:
# Verify file path is correct
ls -la /path/to/your/wallet.db

# Use absolute path if relative doesn't work
» wallet /Users/home/path/to/wallet.db
Next Steps
Enhance Your Application
-
Add More Files:
install-doc style.css install-doc app.js install-doc assets/logo.png # Then update your INDEX update-index [your-index-scid] -
Enable MODs:
- Variable Storage - Store app data
- DERO Transfers - Accept payments
- Transfer Ownership - Transfer your app
-
Add XSWD Integration:
- Use XSWD Advanced library
- Connect to DERO wallet from your app
- Access blockchain data in real-time
Learning Resources
Tutorial Summary
What You Accomplished:
- ✅ Launched TELA-CLI and connected to network
- ✅ Connected your DERO wallet
- ✅ Deployed a TELA-DOC contract (your HTML file)
- ✅ Created a TELA-INDEX contract (your application manifest)
- ✅ Served your app locally and verified it works
- ✅ Published your first decentralized web application on DERO blockchain!
Key Concepts Learned:
- 📋 INDEX contracts - Application manifests that reference DOC files
- 📄 DOC contracts - Immutable code files stored on blockchain
- 🔗 SCIDs - Smart Contract IDs for accessing deployed content
- 🌐 Networks - Simulator (testing), Testnet, Mainnet (production)
You're now ready to build more complex TELA applications! Check out the First App Tutorial for advanced features and patterns.